
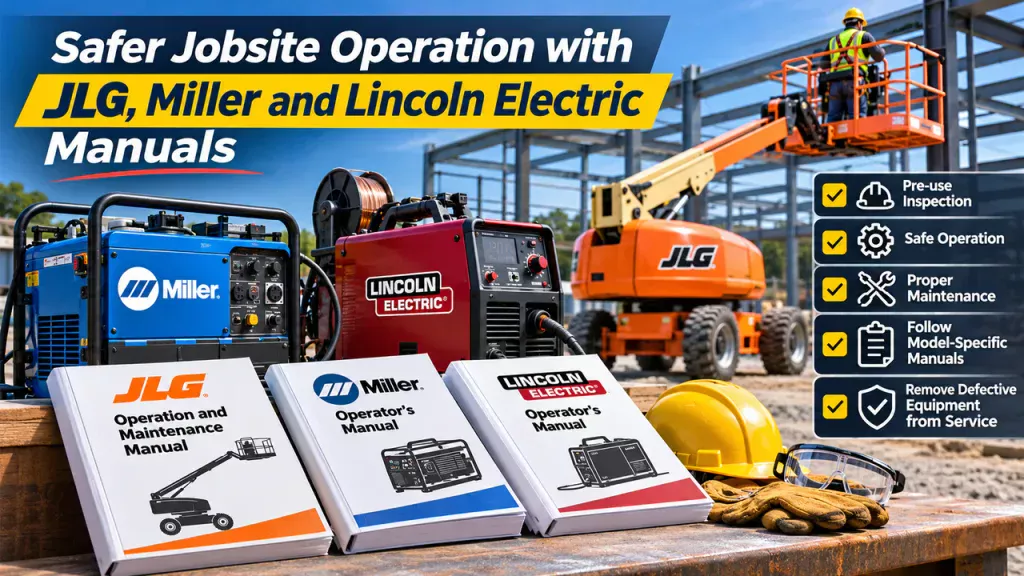
Use JLG, Miller and Lincoln Electric manuals matched to the machine’s model and applicable serial or code number to direct pre-use inspections, operation and maintenance. A boom lift, an engine-driven welder and a wire-feed welder have different hazards, so each needs its own inspection routine. Remove equipment from service when a safety-critical defect is found.
JLG, Miller and Lincoln Electric manuals guide different equipment checks
The table is a starting point for assigning checks, not a substitute for the full inspection procedure in the machine’s manual.
| Equipment | Pre-use check | Operating precaution | Maintenance reference |
| JLG boom lift | Inspect structure, controls and safety devices | Assess ground, overhead hazards and rescue arrangements | Model-specific lift inspection and service schedules |
| Miller engine-driven welder | Inspect leads, guards and signs of fuel or oil leaks | Control exhaust, fire and electrical hazards | Engine and welder service instructions |
| Lincoln Electric wire-feed welder | Inspect gun, feeder, work lead and connections | Use suitable ventilation and welding protection | Power source and feeder maintenance instructions |
Check a JLG boom lift before work at height
A JLG boom lift positions people and tools at height. Before assigning it to a task, establish that its platform capacity and permitted outreach suit the load and work position. Permitted capacity or reach can depend on the lift’s configuration.
Use the jlg manuals collection to find the lift’s control instructions and inspection procedure. Check the model, serial-number applicability and revision against manufacturer information.
Before use, the operator should inspect for visible structural damage, leaks, loose components and damaged platform entry protection, and check tire and wheel condition, as specified for the model. Ground and platform controls and applicable emergency functions also need a function test, following the model’s procedure in its prescribed safe test area.
Soft ground, slopes, drop-offs, overhead obstructions and power lines can make an otherwise sound machine unsafe to use, so verify the model’s terrain and slope limits for operation at height and any separate limits for travel with the lift stowed. Check the surroundings. For outdoor work, check the model-specific wind restrictions before raising workers.
Operators need appropriate training for the equipment and site. Fall-protection arrangements must follow the manufacturer’s instructions and applicable rules. Establish a rescue plan before work at height, including who can operate the ground controls and how an incapacitated worker would be brought down.
Inspect a Miller engine-driven welder before field work
An engine-driven welder provides welding output where a workshop power supply is unavailable.
Damaged insulation or a loose work connection can make the welding circuit unsafe. Before starting, inspect the leads, electrode holder and cable insulation, as well as the work connection. Check for damaged guards and signs of fuel or oil leaks. For model-specific oil, fuel and service requirements, consult the operating and maintenance instructions located through the miller manuals collection, and verify them with the manufacturer.
Run the engine outdoors, with its exhaust away from doors, windows and air intakes. An open doorway, fan or improvised exhaust hose does not make indoor operation safe from carbon monoxide. Combustible material also needs to be kept away from the engine, hot exhaust and welding area. Follow the manual’s fueling procedure.
Select a welding-filter shade for the process and current, and wear welding gloves and body protection suited to the work. Assess fume extraction for the material and any coating, using the applicable instructions and workplace assessment. Rated welding output, duty cycle and fuel requirements vary by model. Duty cycle relates permitted welding time to a stated period at a specified output and under specified test conditions, so read the percentage together with its associated current, voltage and conditions, not as a run-time allowance for every job.
Prepare a Lincoln Electric wire-feed welder for workshop use
A wire-feed setup relies on a power source, wire feeder, gun and work lead operating together. Before welding, inspect the gun cable and liner arrangement for damage, confirm the work connection is sound, and examine the feeder for worn or obstructed parts. Follow the manual’s isolation procedure before opening guards or accessing drive components.
For machine-and-feeder setup instructions, search the lincoln electric manuals collection using the equipment identification details.
The input supply must be compatible with the machine’s nameplate and manual; an unsuitable supply can overload equipment or cause poor performance. Choose wire and output settings compatible with the process, and observe the duty-cycle rating at the chosen output.
In the wire path, the drive-roll groove and contact-tip size must suit the selected wire, or feeding can be erratic. Check polarity against the wire and process instructions, using the setup instructions for that unit rather than borrowing settings from another machine.
Where shielding gas is used, secure the cylinder and inspect its connections according to the equipment instructions. Provide suitable welding-fume ventilation, protect nearby workers from arc exposure, and keep flammable materials away from sparks and hot workpieces.
Stop work and investigate damaged leads or faulty lift controls
Erratic welding has several possible causes, including damaged leads, loose connections, an unsuitable work connection or incorrect setup. It is not proof that the power source has failed. Stop welding and isolate the equipment as instructed before inspecting or correcting a problem; follow the site’s lockout or isolation procedure where applicable.
Damaged insulation, exposed conductors or a defective electrode holder warrant removal from service until properly corrected. Tag the equipment out. Leave internal electrical work to personnel qualified for that equipment, including its stored-energy hazards. Switching off at the controls may not make the machine safe to open.
On a lift, unresponsive controls or a failed safety device are reasons to stop using it and arrange qualified assessment. Follow the manual and site rescue procedure if someone is already at height. Do not bypass an interlock. Return the machine to service only after the fault has been corrected and any required inspection completed, not merely because it has stopped appearing.
Build a maintenance schedule around each machine’s manual
Start with the identification plate. Record the model, serial number and any code number needed to identify the manual, then search the manufacturer’s official resource. Compare the document’s applicability and revision with the machine. Third-party collections may help locate documents, but a similarly named model or an older manual may not cover the equipment on site. If identification or applicability remains unclear, contact manufacturer support or an authorized dealer.
Turn the manufacturer’s time- and usage-based intervals into individual task records. For example, an engine-oil change record can identify the welder, the manual page or section, the task, the responsible role, the last completion date and hours, and the next date or hour reading due under that manual. Use a whichever-occurs-first rule only if the manual specifies one.
Record operating hours, pre-use findings, reported defects and completed service against the individual asset. Calendar intervals matter too. If a machine sees irregular use, calendar-based work still needs tracking where the manual calls for it. Check for additional service requirements where severe dust or heavy use affects the schedule specified in the manual.
Assign a named role to take defective equipment out of service and another to authorize its return after correction and any required inspection. Keep those records available to operators and the maintenance team, so the next shift does not mistake an unresolved defect for a cleared machine.