If you’re reading this, you probably have an inkling of what makes bay leaves special. It’s a simple leaf, but it’s anything but ordinary. That dry, crackling leaf you toss into a pot of soup does more than season. It’s a tradition, a signal, a quiet reminder that flavor isn’t always bold—it’s sometimes a whisper that transforms a dish from good to memorable. And behind every leaf is a careful, intentional process. So, if you’re considering stepping into bay leaf production, here’s your guide to bringing this simple leaf to life.
Why Bay Leaves?

Bay leaves are subtle. They’re not the star, yet you notice when they’re missing. They add depth without dominating. And they’re indispensable across countless cuisines—from Filipino adobo to French bouillabaisse. Globally, the demand for bay leaves is steady. They’re an ingredient that’s as reliable as it is versatile, and that makes them an attractive crop for any grower looking to diversify.
1. Choosing the Right Tree: Not All Bay Leaves Are the Same
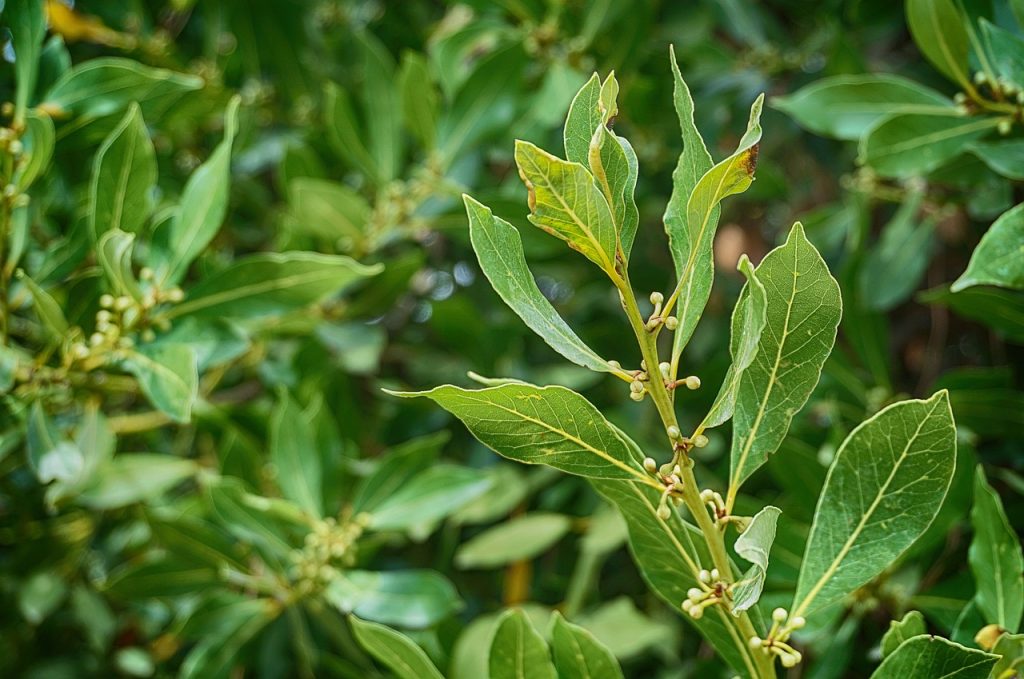
Let’s get specific. Bay leaves come from the Laurus nobilis tree, also known as the true bay or sweet bay. Be careful: not every “bay” tree is fit for cooking. The right choice is essential because not all “bay” trees produce the classic, fragrant bay leaf. For production, you’ll need hardy, mature Laurus nobilis saplings to start.
Tip: Look for disease-resistant varieties that suit your local climate. Laurus nobilis thrives in warm, Mediterranean-like environments, but can adapt to various growing conditions with the right care.
Varieties to consider:
Laurus nobilis: The traditional, culinary variety that offers the most flavorful leaves.
Laurus nobilis ‘Angustifolia’: A narrow-leafed variant that produces slightly milder leaves, ideal for subtle seasoning.
2. Growing Conditions: Soil, Sun, and Water
Bay trees are tough. They like well-drained soil and full sun, but they don’t need coddling. They’re drought-resistant once established, but they benefit from regular watering when they’re young. Soil quality matters, too. Aim for slightly acidic to neutral soil and add organic matter to boost growth.
Remember: Bay trees grow slowly. This isn’t a fast-turnaround crop. You’re cultivating patience as much as you’re cultivating leaves. But the payoff? Worth it.
3. Planting and Spacing: Give Them Room to Breathe
Bay trees need space. A fully grown bay tree can reach 30 to 40 feet, though you’ll likely harvest before they reach that height. When planting, give each tree at least 6 to 10 feet of space to avoid crowding.
Tip for a Healthy Crop: Prune regularly. You’re not just harvesting leaves; you’re shaping the tree, encouraging dense foliage, and promoting air circulation. A healthy tree equals a healthier yield.
4. Maintenance and Pest Management
Caring for Your Bay Leaf Plant
Pruning: Prune annually to maintain shape, encourage airflow, and remove any damaged or diseased branches. Bay laurel can be shaped into hedges, topiaries, or left as a small shrub.
Watering: Bay laurel requires moderate watering, especially in its early growth phase. Let the soil dry out between waterings to prevent root rot.
Fertilization: Fertilize with a balanced, slow-release fertilizer (10-10-10 NPK). Organic options like compost or well-rotted manure are also beneficial.
A bay leaf tree’s toughness doesn’t mean it’s invincible. Watch for common pests like aphids and scale insects, which can damage the leaves. In warm, humid climates, bay trees are susceptible to root rot and fungal infections, so ensure proper drainage.
Organic Remedies: If pests appear, try natural solutions like neem oil. Bay leaves are prized for their purity, so chemical pesticides are best avoided. You’re growing a product people trust in their cooking; organic care methods matter.
5. Harvesting: Timing Is Everything
Harvesting is an art. You want the leaves to be at peak flavor, with their oils fully developed. Bay leaves can be harvested once the plant has established itself, typically after 2-3 years of growth. Harvesting younger leaves provides a milder flavor, while mature leaves have a stronger aroma.
How to Harvest: Pick leaves in the morning, when their essential oils are most concentrated. Use sharp scissors or pruners to avoid damaging the plant. Harvest only a few leaves at a time to maintain the plant’s health.
6. Drying and Storing: Capturing the Flavor
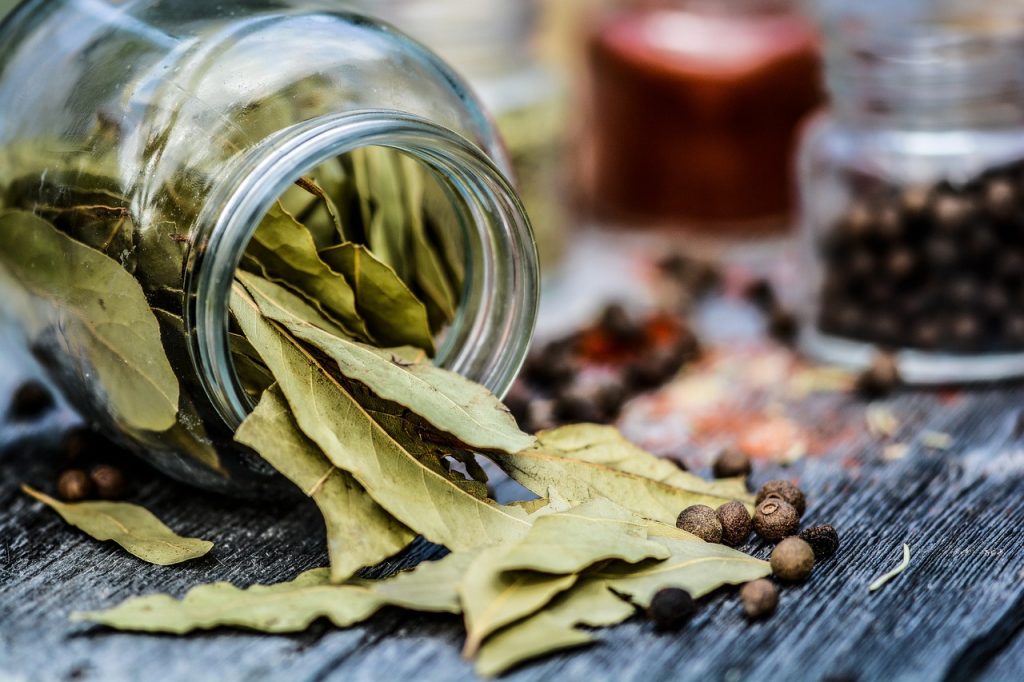
Bay leaves are best dried slowly and naturally. Skip the oven. Instead, lay them out on drying racks in a well-ventilated room or shaded area for 1-2 weeks away from direct sunlight. Leaves will be crisp and slightly curled when fully dried and maintain their signature aroma.
Pro Tip: Store dried leaves in airtight containers, away from light and moisture. Properly dried and stored bay leaves can retain their flavor for up to two years—another reason why these little leaves are so dependable.
7. Using Bay Leaves: More Than Just a Leaf in the Pot
Here’s what makes bay leaves different. They’re subtle, yes. They don’t scream “spice” like a chili or overwhelm like a clove. But drop one in, and something starts to happen. Fresh bay leaves bring a light, herbal bitterness to a dish, almost whispering flavors rather than announcing them. Dried ones? They’re a bit bolder, almost earthy, perfect for anything that likes a long, slow simmer.
Culinary Uses
Let’s talk flavor. Bay leaves know how to elevate without hogging the spotlight.
- Soups and Stews: Just one or two. That’s all it takes to add an unmistakable layer of warmth and complexity. Bay leaves blend right in, turning a simple broth into something richer.
- Rice Dishes: Toss a bay leaf in your rice, whether it’s pilaf or just plain steamed. Suddenly, you have something that feels thoughtfully prepared—like it’s been taken to a new level with minimal effort.
- Marinades and Sauces: Meats, veggies, marinades—bay leaves add an aromatic depth that sits in the background, making every other ingredient taste a little bit better.
Medicinal Benefits
Now, bay leaves aren’t just about flavor. Nature loaded them with compounds like eugenol and myrcene—names that might not mean much, but they’ve got antioxidant and anti-inflammatory properties that our bodies recognize. Think of it as an added benefit that makes the bay leaf a bit of an overachiever.
Of course, while they’re safe in cooking, always use them in moderation if you’re exploring medicinal uses. A little goes a long way, and for any health applications, a chat with a health professional never hurts.
8. Selling and Marketing Your Bay Leaves
You’ve done the hard work. Now, it’s about positioning. Bay leaves aren’t glamorous, but they’re beloved, trusted, and respected. Market them as what they are: a humble yet essential ingredient in almost every cuisine. People buy bay leaves to add richness and history to their meals. They’re more than an herb; they’re a timeless tool in kitchens worldwide.
Ideas for Selling:
- Direct to Chefs and Specialty Markets: Chefs value quality, and they’ll pay for well-cared-for herbs.
- Online Sales: Offer organic, locally-grown bay leaves online. Consider small, artisanal packaging that emphasizes freshness.
- Farmers’ Markets: Customers at farmers’ markets appreciate the story behind the product. Share your journey; people love knowing the hand that grew their food.
